
Introduction
This tutorial will show you how to create the shield and ribbon graphic, using Adobe Illustrator and Photoshop. an intermediate skill level is required as well as some artistic skills. However you don’t have to be a Picasso to create the design. So go ahead get your creative muse in the zone and have fun while learning a few new tricks!
Step 1
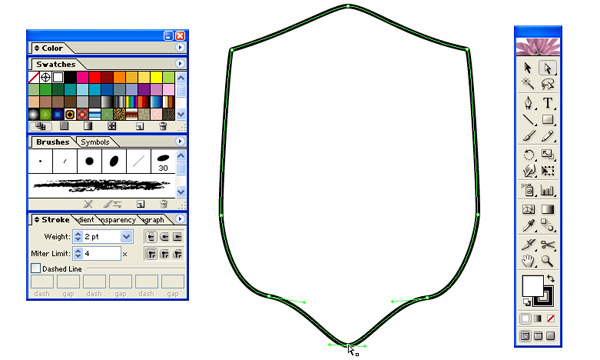
In Adobe Illustrator draw the outline of the shield using line weight of 2pt, with black stroke and a white fill.
Step 2
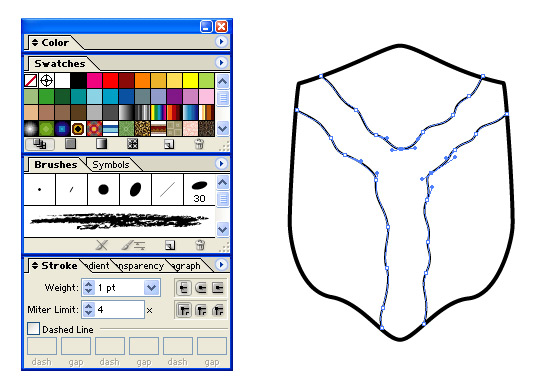
Draw the rivers outline using line weight 1pt, with black stroke.
Step 3
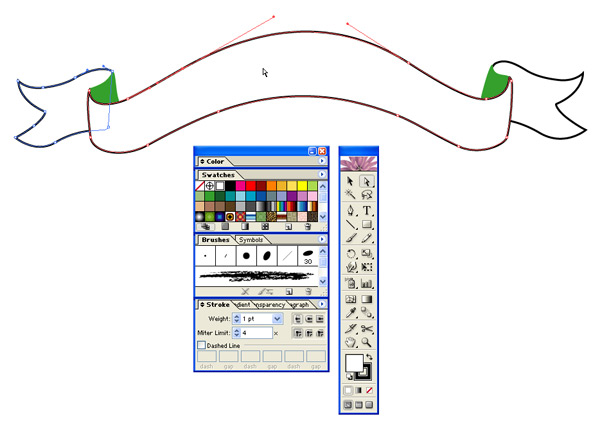
Draw the ribbon outline as shown, using 1pt line weight and black stroke.
Step 4
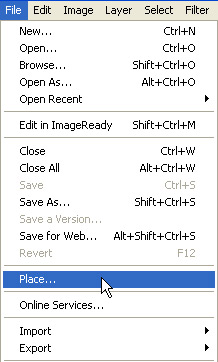
Import the vector images from Illustrator into Photoshop.
Step 5
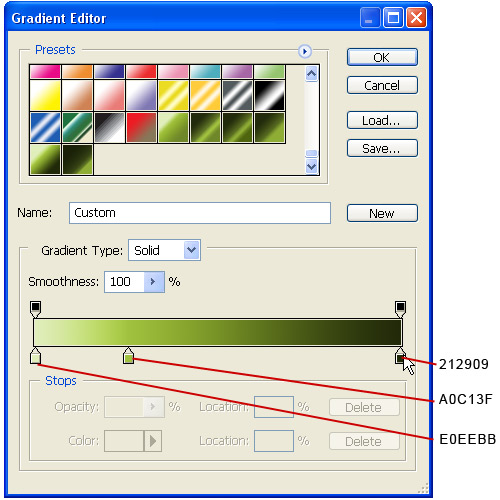
Create a new gradient and save it, this will be used to fill both the shield and ribbon.
Step 6
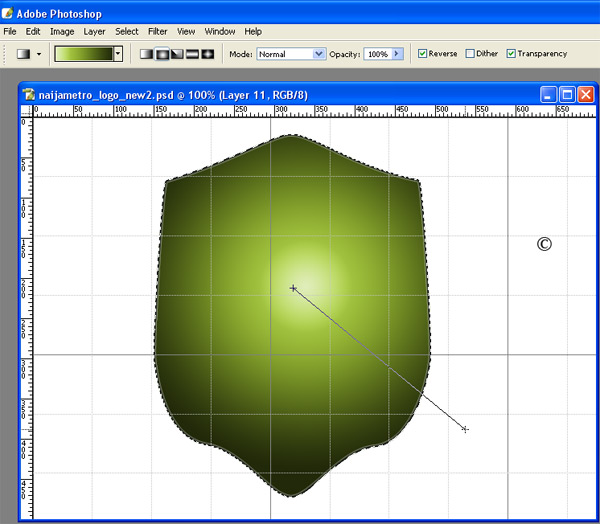
Duplicate the shield layer, then use the radial type gradient to fill the shield.
Step 7
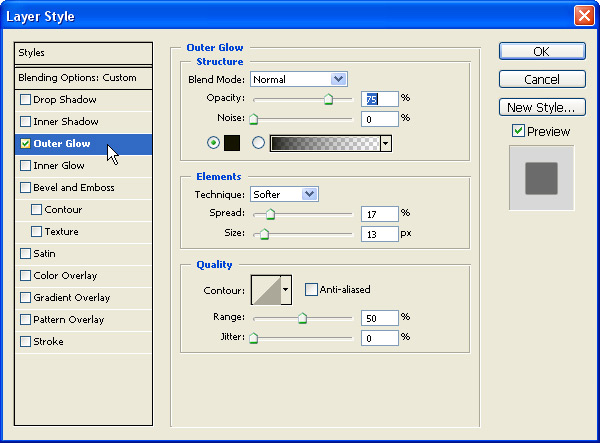
Apply the outer glow layer style to the other shield outline layer.
Step 8

Fill the ribbon with the gradient, check the reverse box to invert the gradient.
Step 9
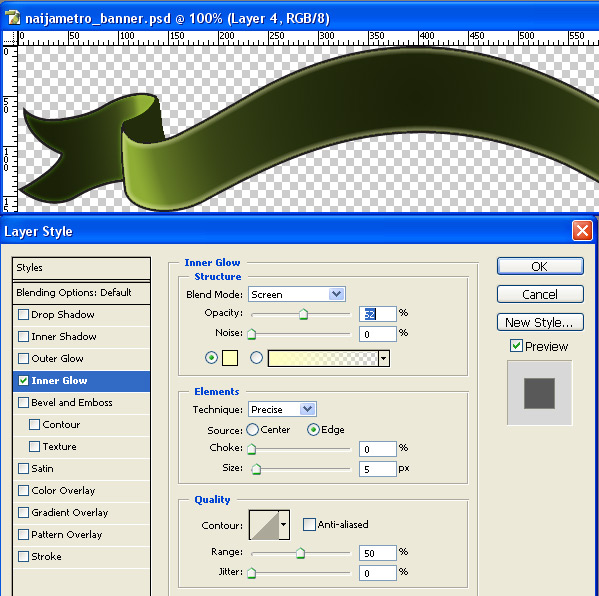
Select the middle section of the ribbon, and copy into a separate layer. Apply the layer style to this new layer.
Step 10
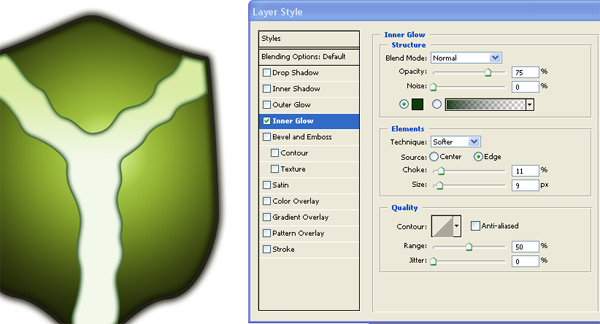
Select the “Rivers” layer and apply layer style.
Step 11
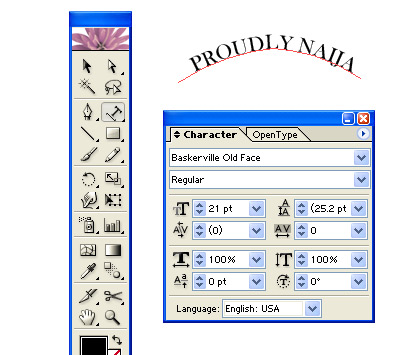
Create the ribbon text in Illustrator using text on a path. Switch to white text before importing to Photoshop
Step 12

This is what your final image should look like. Feel free to make any layer style adjustments or Filter effects to suit your taste!
Lastly show off to your friends!

Leave a Reply