
Project overview
- Company
- Portfour limited Co
- Product Owner
- Portfour limited Co
- Date
- 2026
My Role
UX/AI Design Lead
UX Researcher
Prompt Engineer
Design Tools
 Figma
Figma
 Claude
 Google Stitch
UX Deliverables
Figma Design Components
DESIGN.md file
Figma Design Tokens: Variables, Color & Font styles
Context
Creating agentic design systems with Figma can be challenging, but you can start with a lightweight workflow instead of building everything from scratch. In my experience, Figma Make is not yet the most effective path for design systems because the process still requires coding judgment and technical setup. This post walks through a practical shortcut for getting an agentic design system off the ground using Claude, Figma, MCP, and a DESIGN.md file
Google Stitch and Google Labs Code
Google Stitch
- Your collaborative vibe design partner
- Design at the speed of AI
- as you Stitch with Google
- Google Labs Code
- Open-source repository for AI design
Claude & environment setup
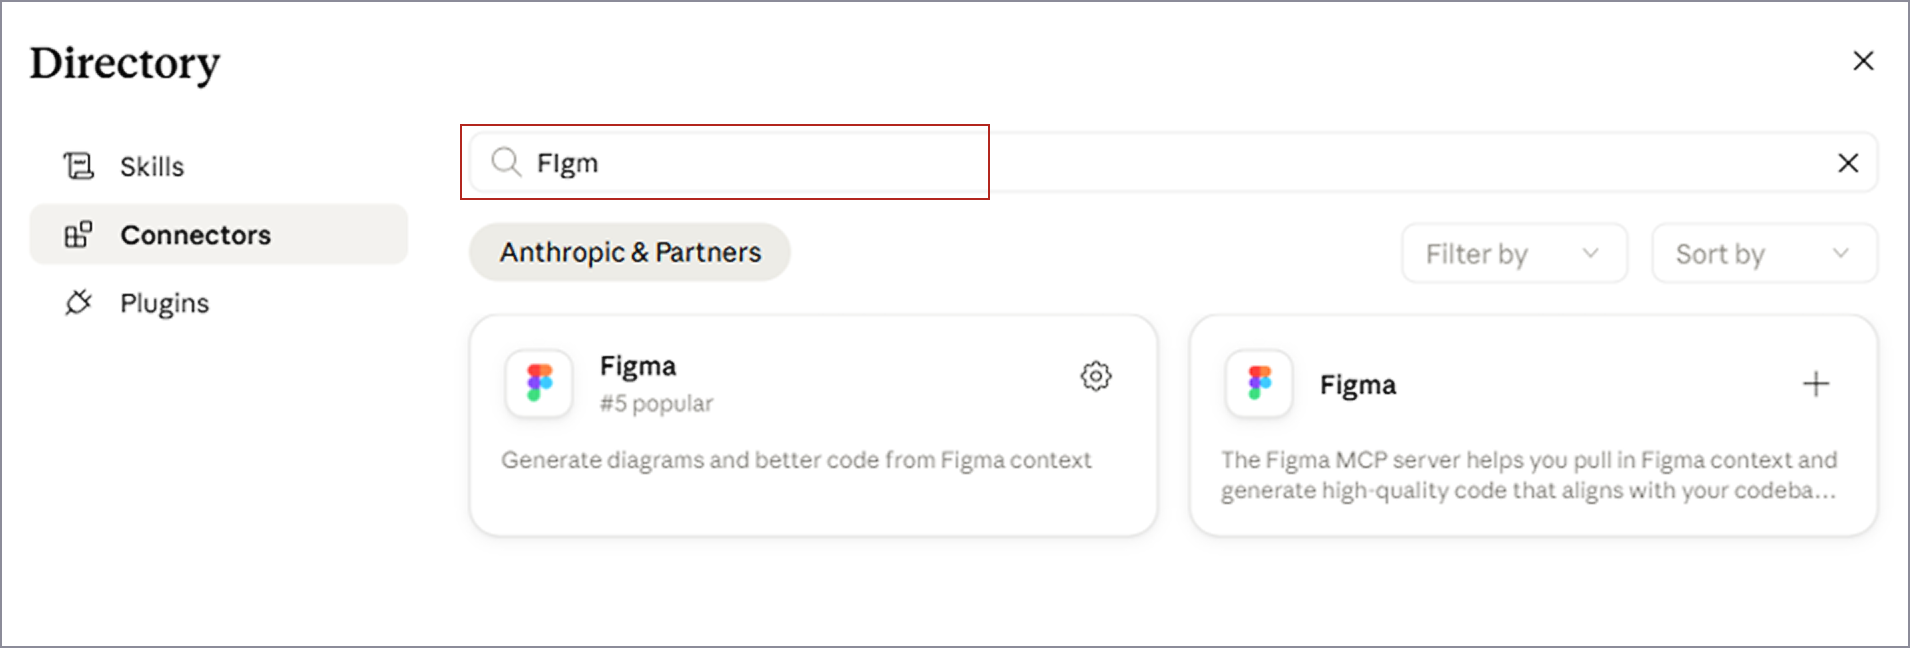
First, set up your Claude account so it can connect to Figma.
In Claude, go to Customize, then Connectors, and select the plus icon to add a connector. Search for Figma, then authenticate your Figma account when prompted.
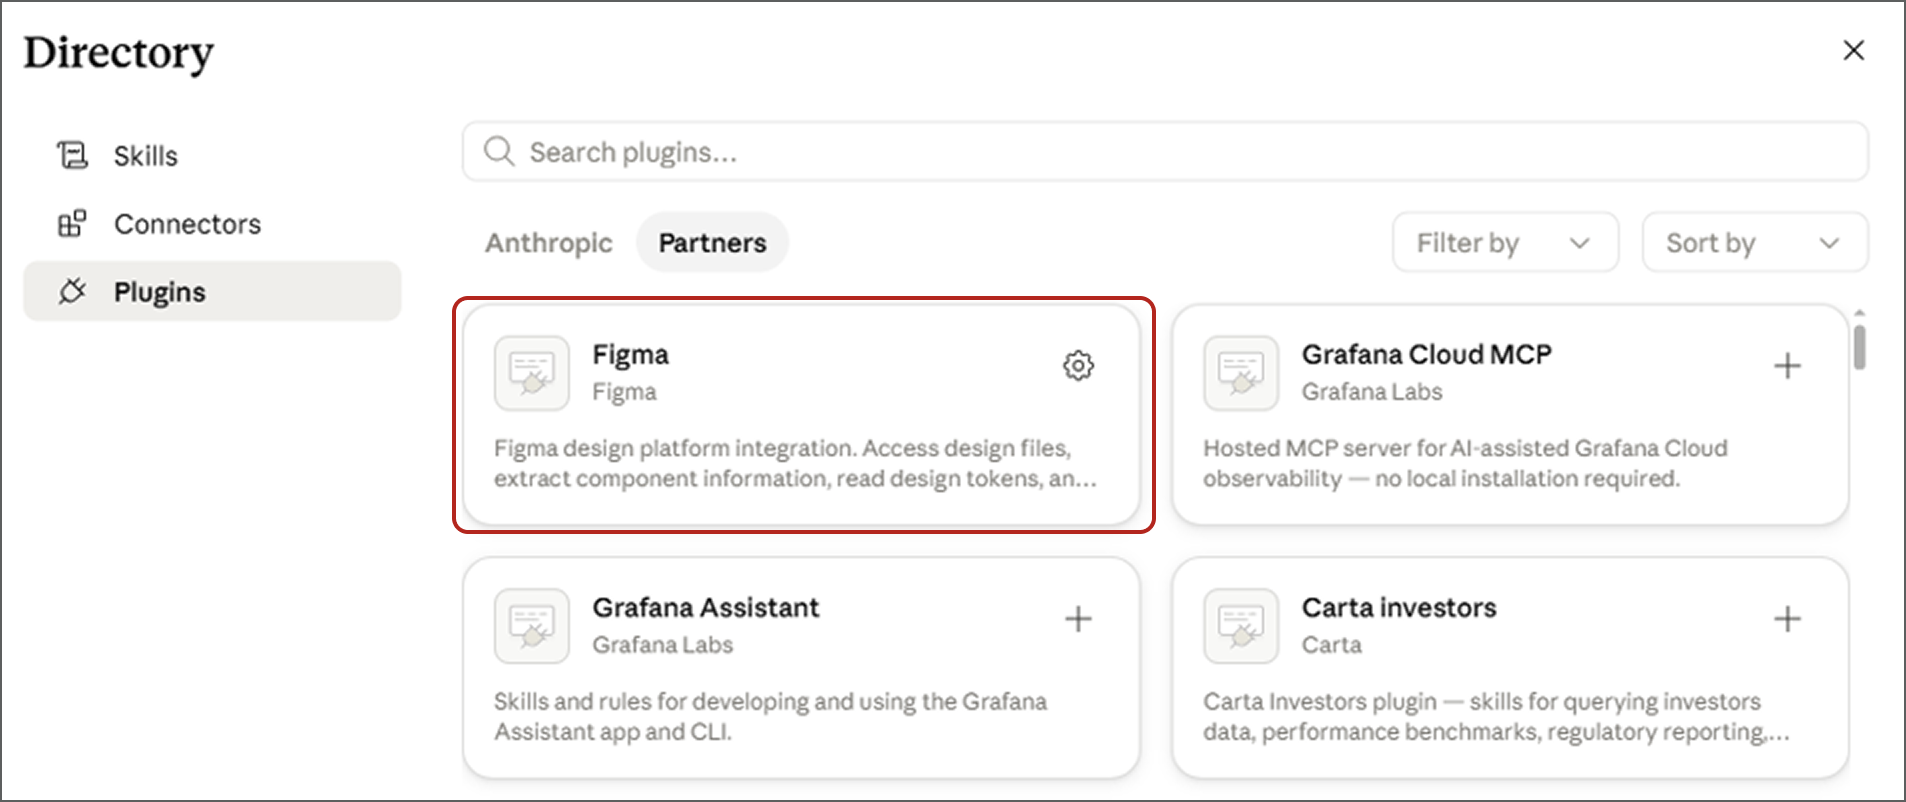
Still under Customize, go to Skills, select the plus icon to add a skill, choose Browse skills, and then select Plugins, next select Partners.
What are Plugins, Skills and Connectors?
- A Claude connector is an MCP server that lets you authenticate through OAuth to services such as Gmail, Google Drive, Figma, or Slack. Once connected, it gives Claude permission to access the account data you authorize.
- Skills teach Claude how to use a specific service or workflow. For example, a Gmail send-mail skill could show Claude the steps for drafting and sending an email. Skills are usually folders that contain instructions or scripts, and a simple skill can be written, without coding, as a Markdown file.
- Plugins bundle connectors and skills together into one package. This reduces a multi-step setup process into a single installation step.
DESIGN.md and Agent Prompt
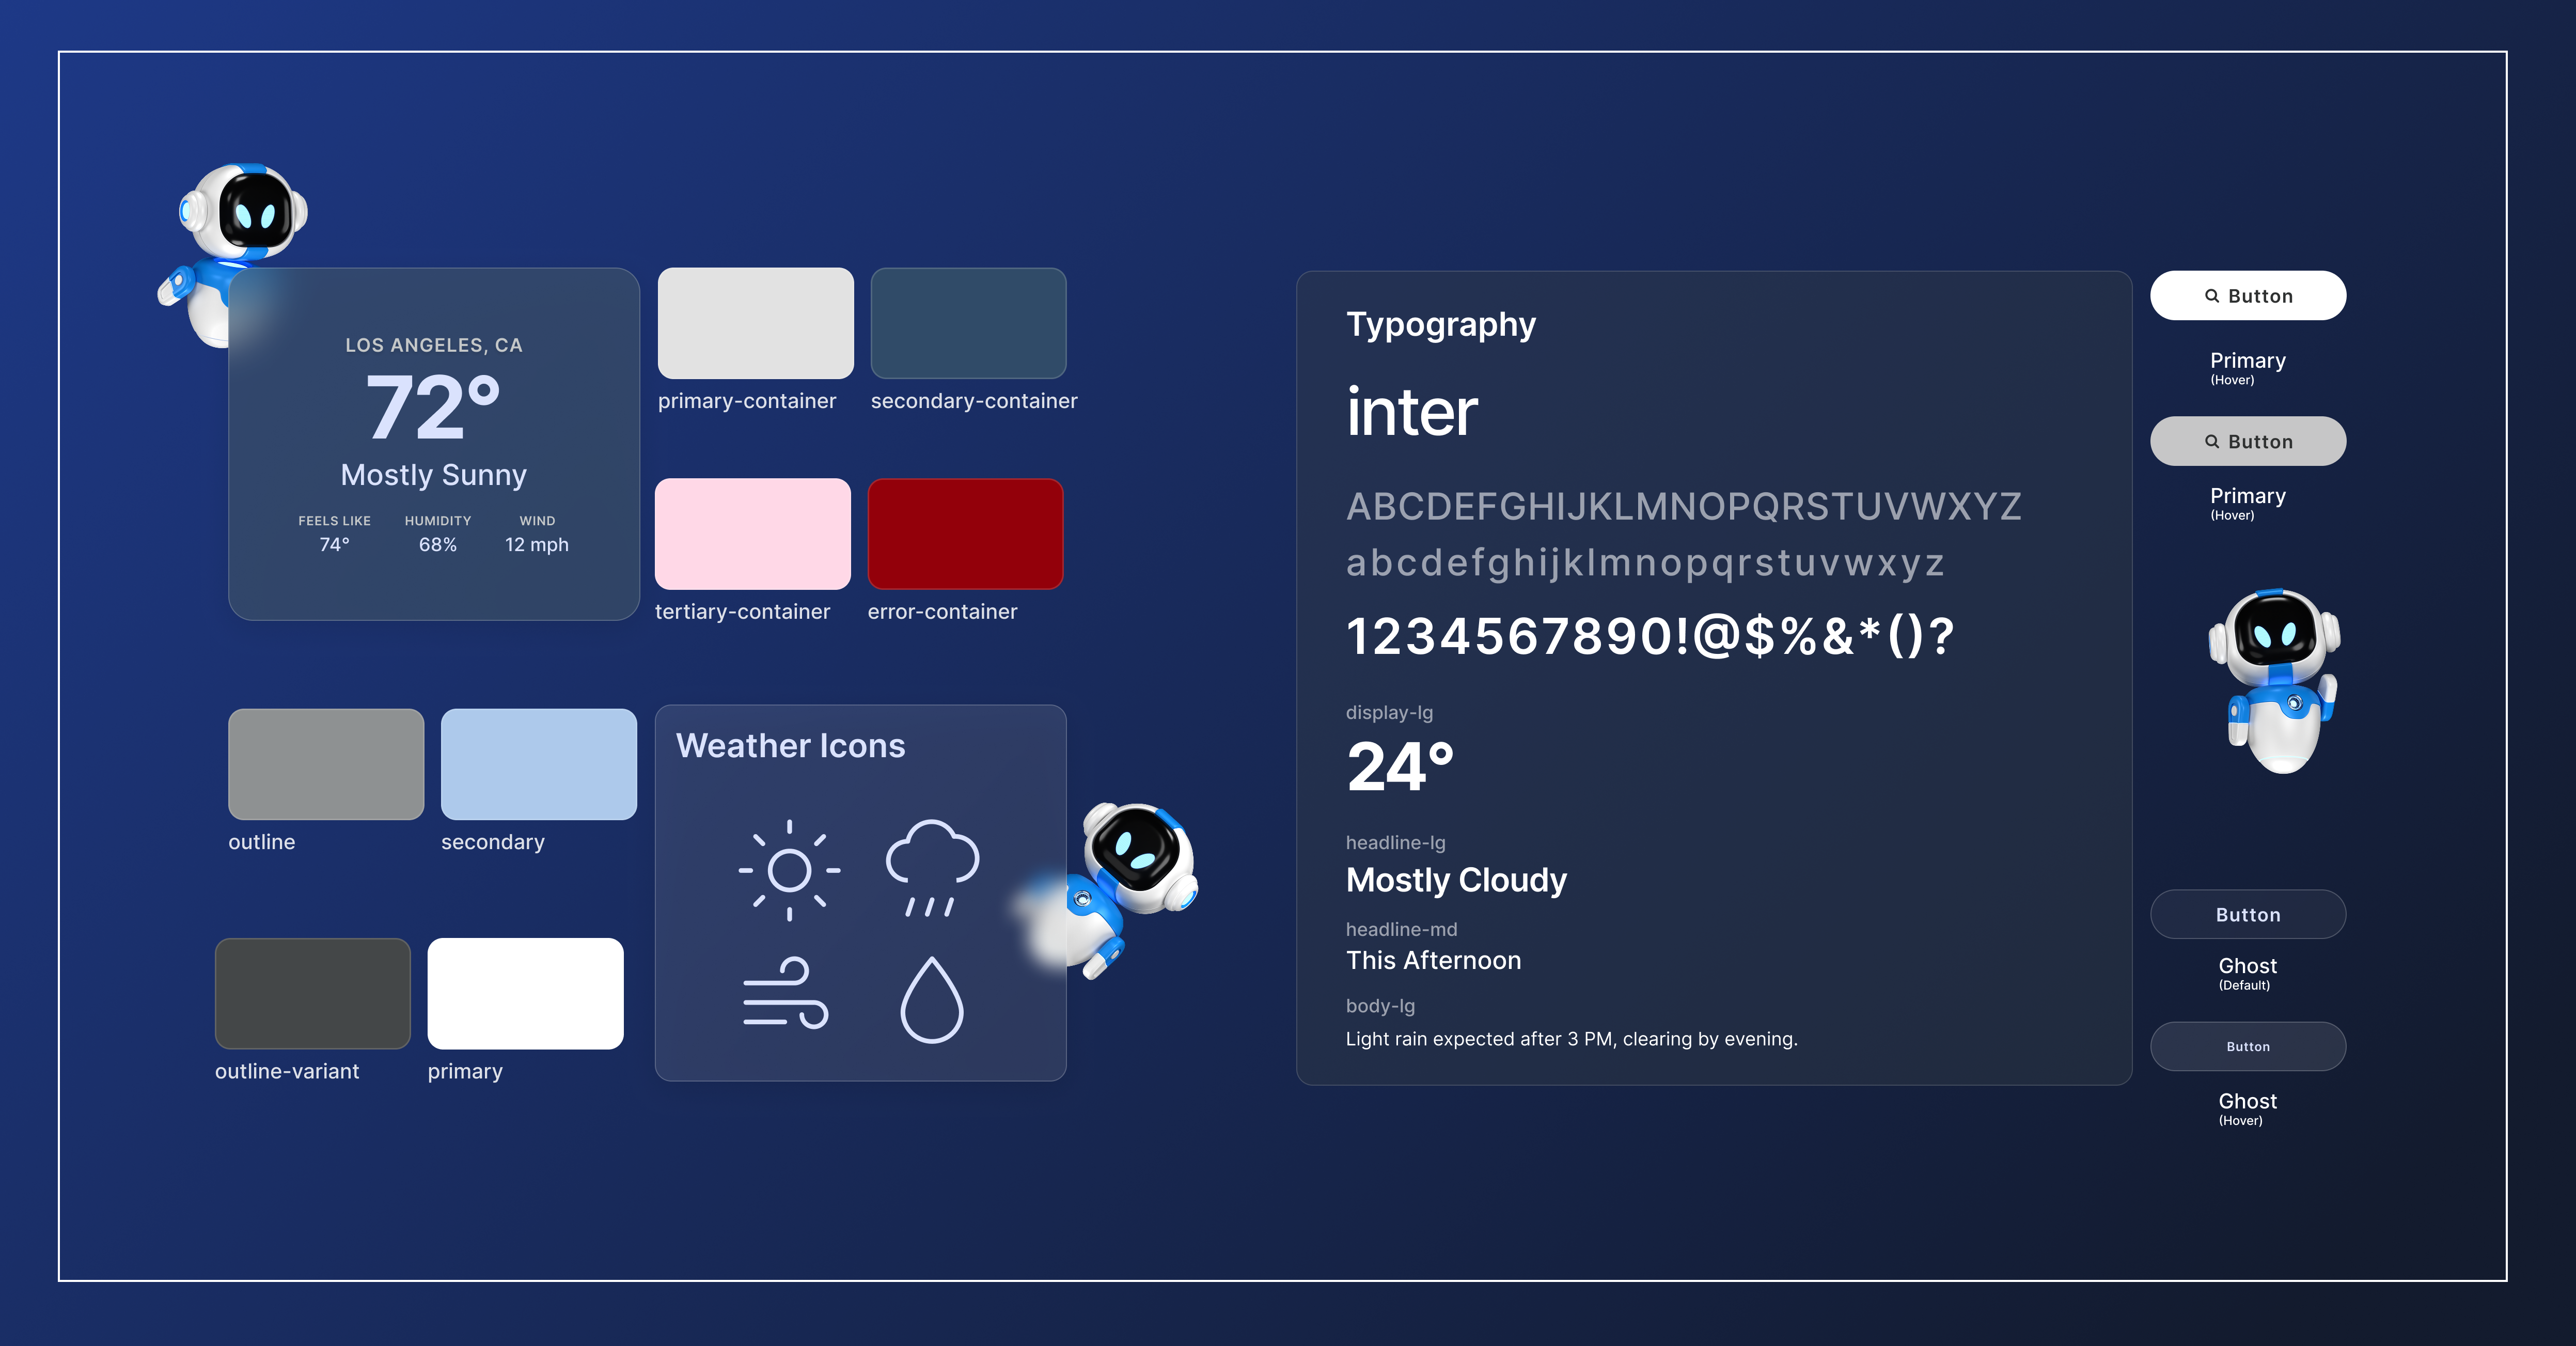
For this step we will build on the Atmospheric Glass design.md file from Google Stitch / Google Labs Code on GitHub. Go to Design md project, under examples select anyone, I chose atmospheric-glass. Download the DESIGN.md file. You can review it in Clause Code or Visual Studio Code, or anyone code editor.
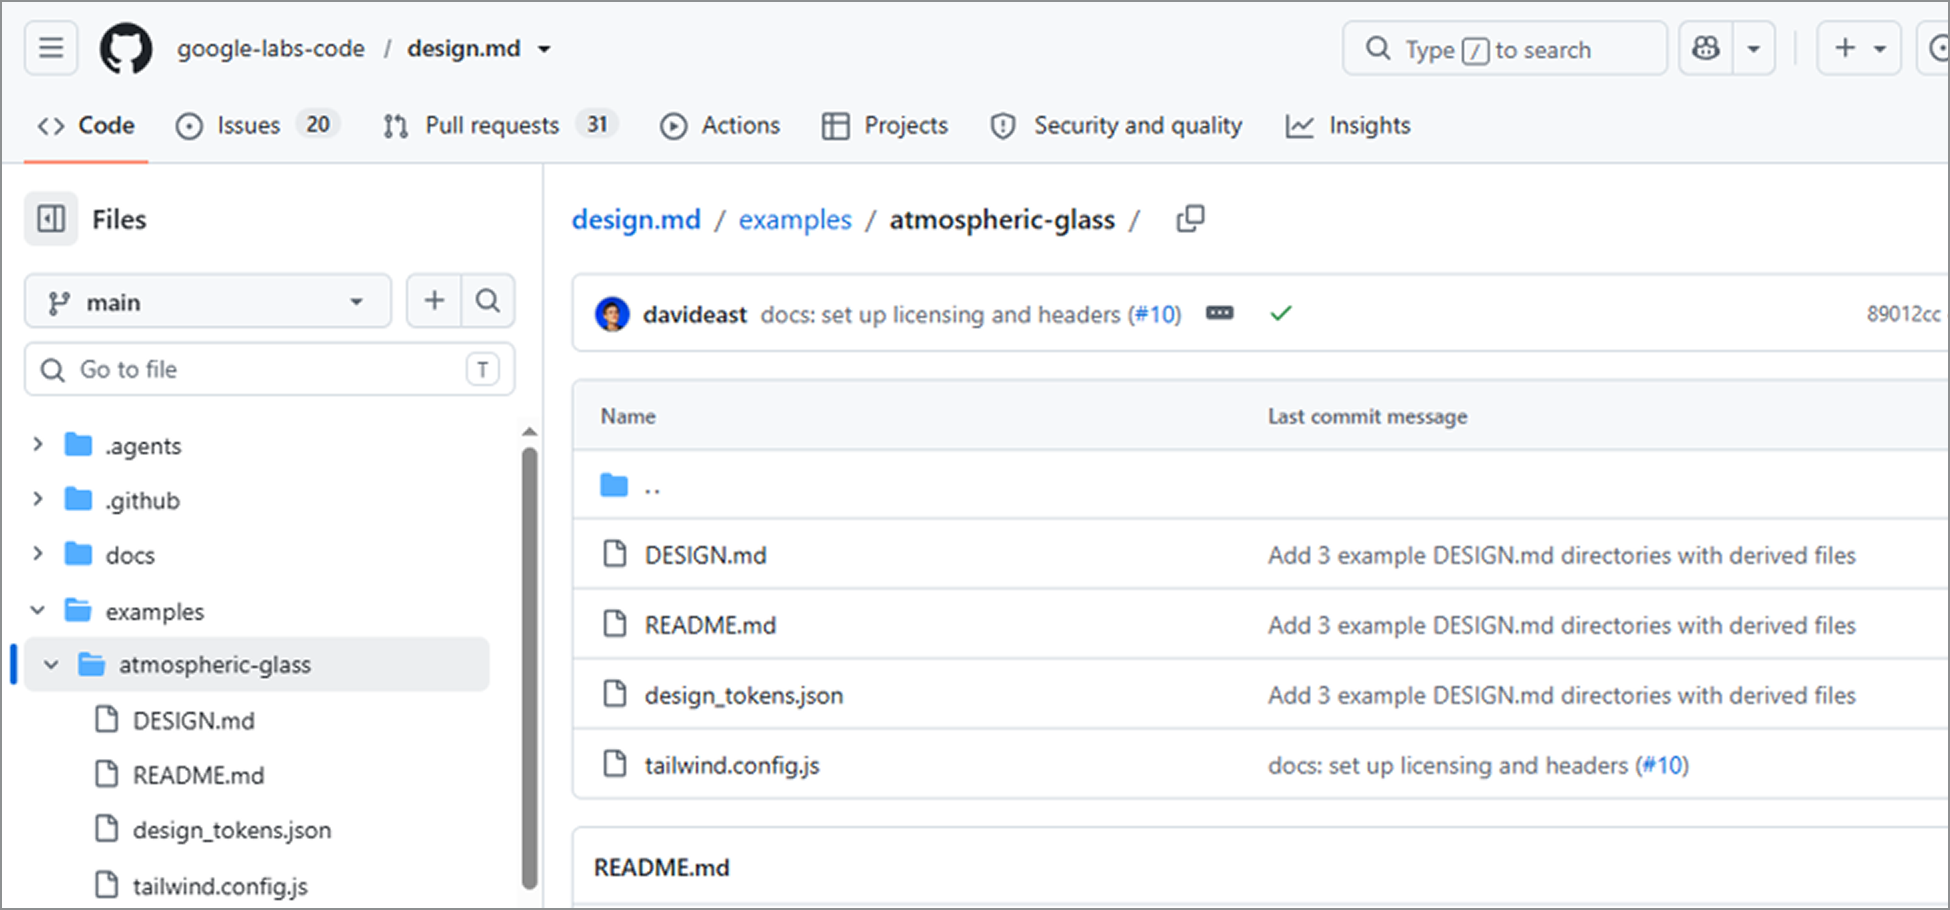
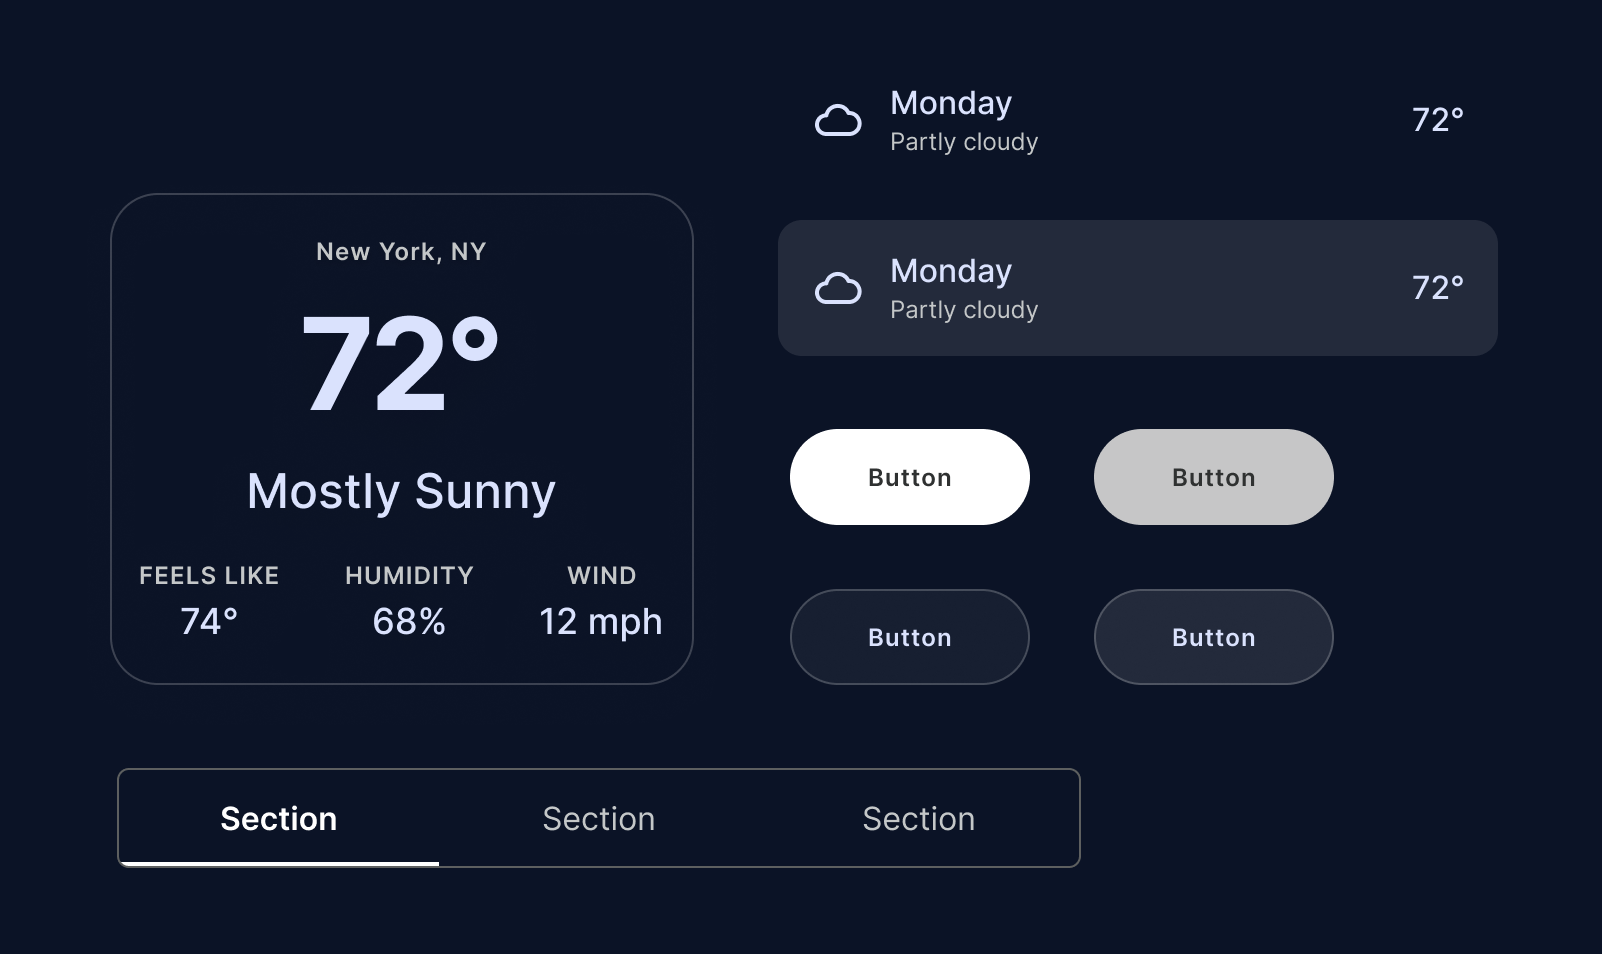
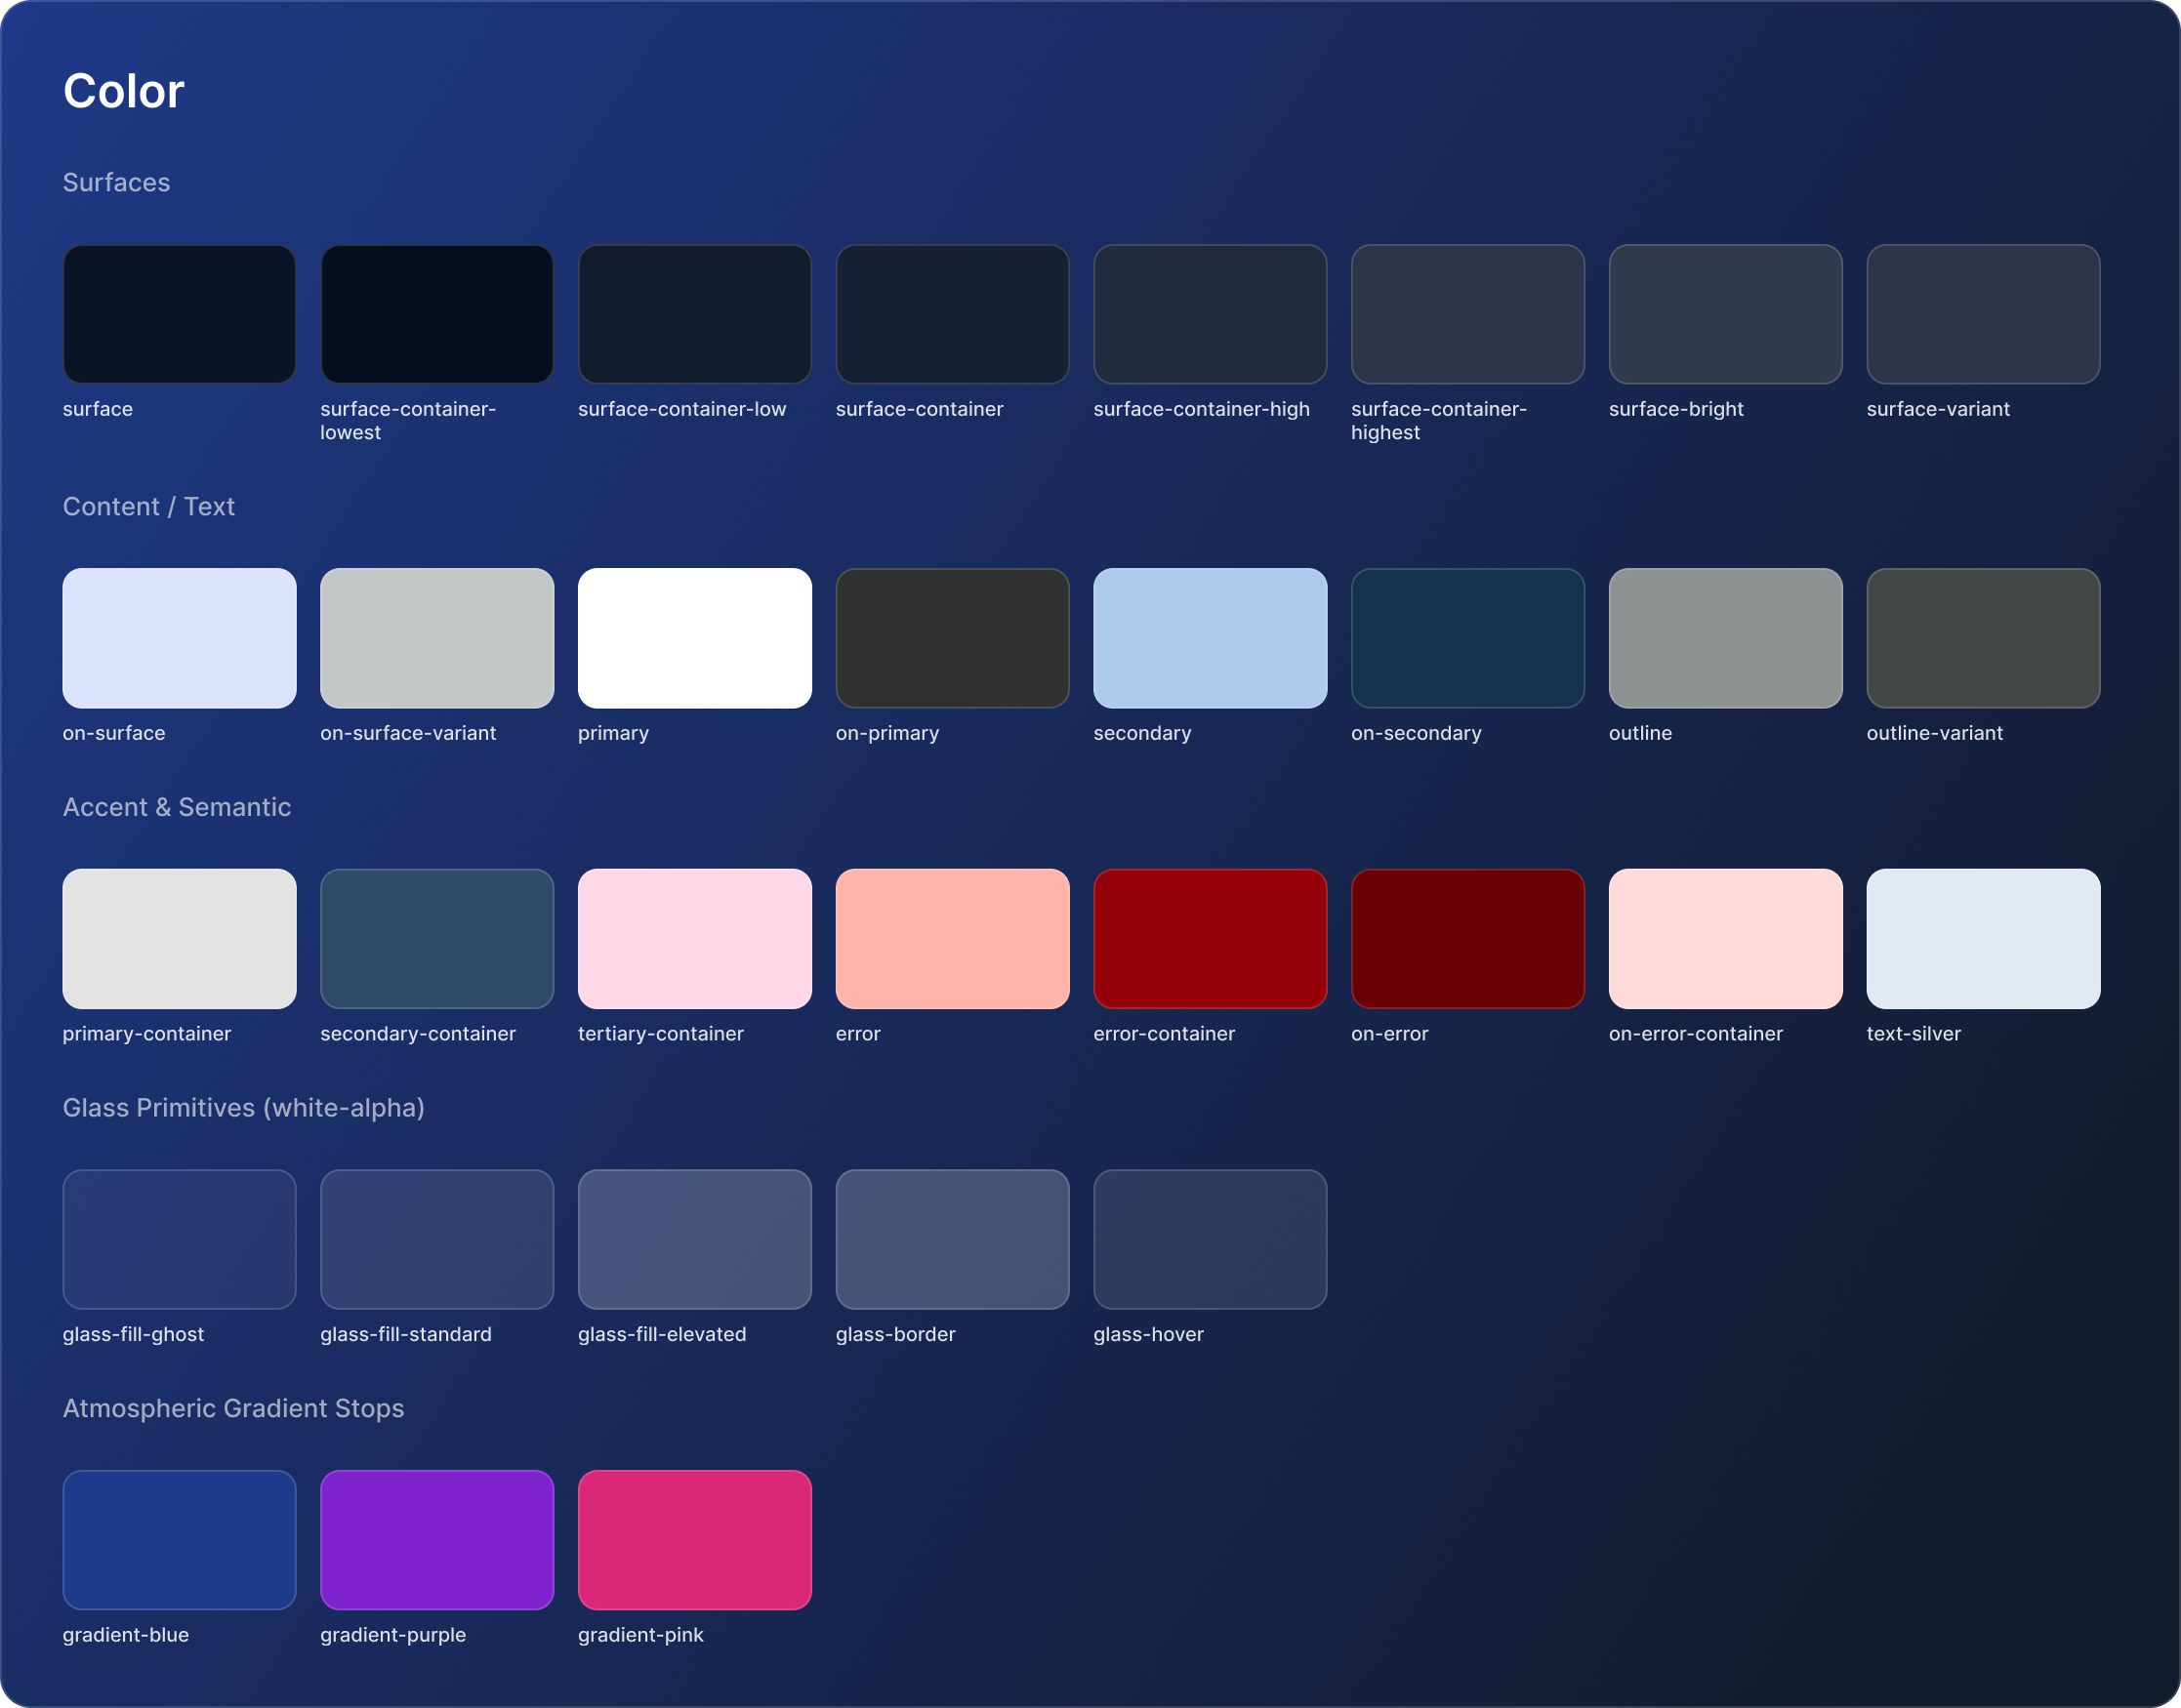
The DESIGN.md file includes a small starter set of components and icons, including glass cards, buttons, and form input elements, along with more comprehensive color styles, tokens, and text styles. You can extend this design system by adding more components from Figma or by coding additional components yourself.
Code snippet from DESIGN.md file:
components:
  glass-card-standard:
    backgroundColor: rgba(255, 255, 255, 0.1)
    textColor: "{colors.primary}"
    rounded: "{rounded.lg}"
    padding: "{spacing.glass-padding}"
  glass-card-elevated:
    backgroundColor: rgba(255, 255, 255, 0.2)
    textColor: "{colors.primary}"
    rounded: "{rounded.xl}"
    padding: "{spacing.glass-padding}"
  button-primary:
    backgroundColor: "{colors.primary}"
    textColor: "{colors.on-primary}"
    typography: "{typography.label-sm}"
    rounded: "{rounded.xl}"
    height: 48px
    padding: 0 24px
  button-primary-hover:
    backgroundColor: "{colors.primary-fixed-dim}"
  button-ghost:
    backgroundColor: rgba(255, 255, 255, 0.05)
    textColor: "{colors.primary}"
    typography: "{typography.label-sm}"
    rounded: "{rounded.xl}"
Next, use the file in either Claude Code or the Claude browser app. A simple prompt is enough to get started:
“As an experienced UX/AI designer create a Figma design system using the attached DESIGN.md file.”
Claude can then create a design system package which can be imported into Figma, or it can build directly inside Figma if your connector setup supports it.
Depending on your settings Claude will ask for permission to create or edit your Figma design file.
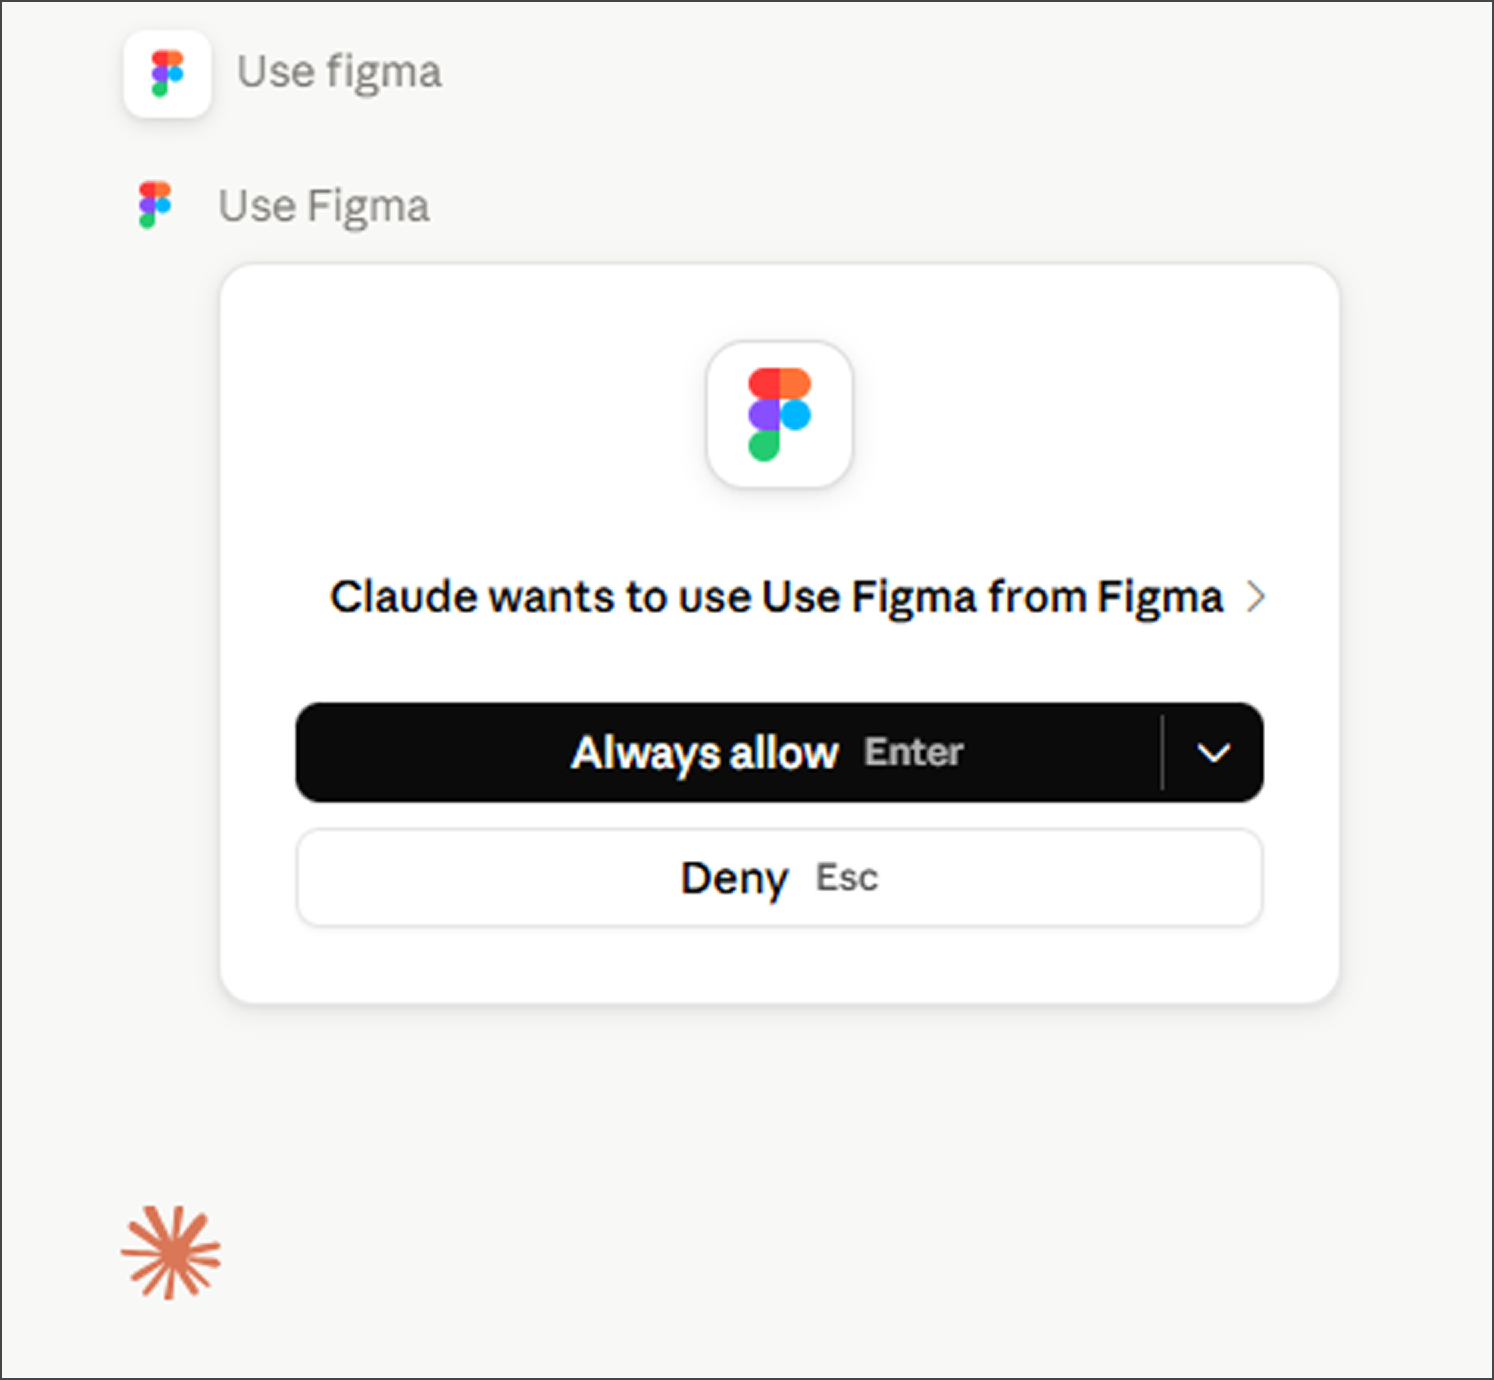
For this demo, I used Sonnet 4.6 High because the prompt requires complex reasoning. The initial process took about 7 to 10 minutes. Claude keeps you informed throughout the process and explains what it is doing, which I found helpful for understanding how the agentic system was being constructed.
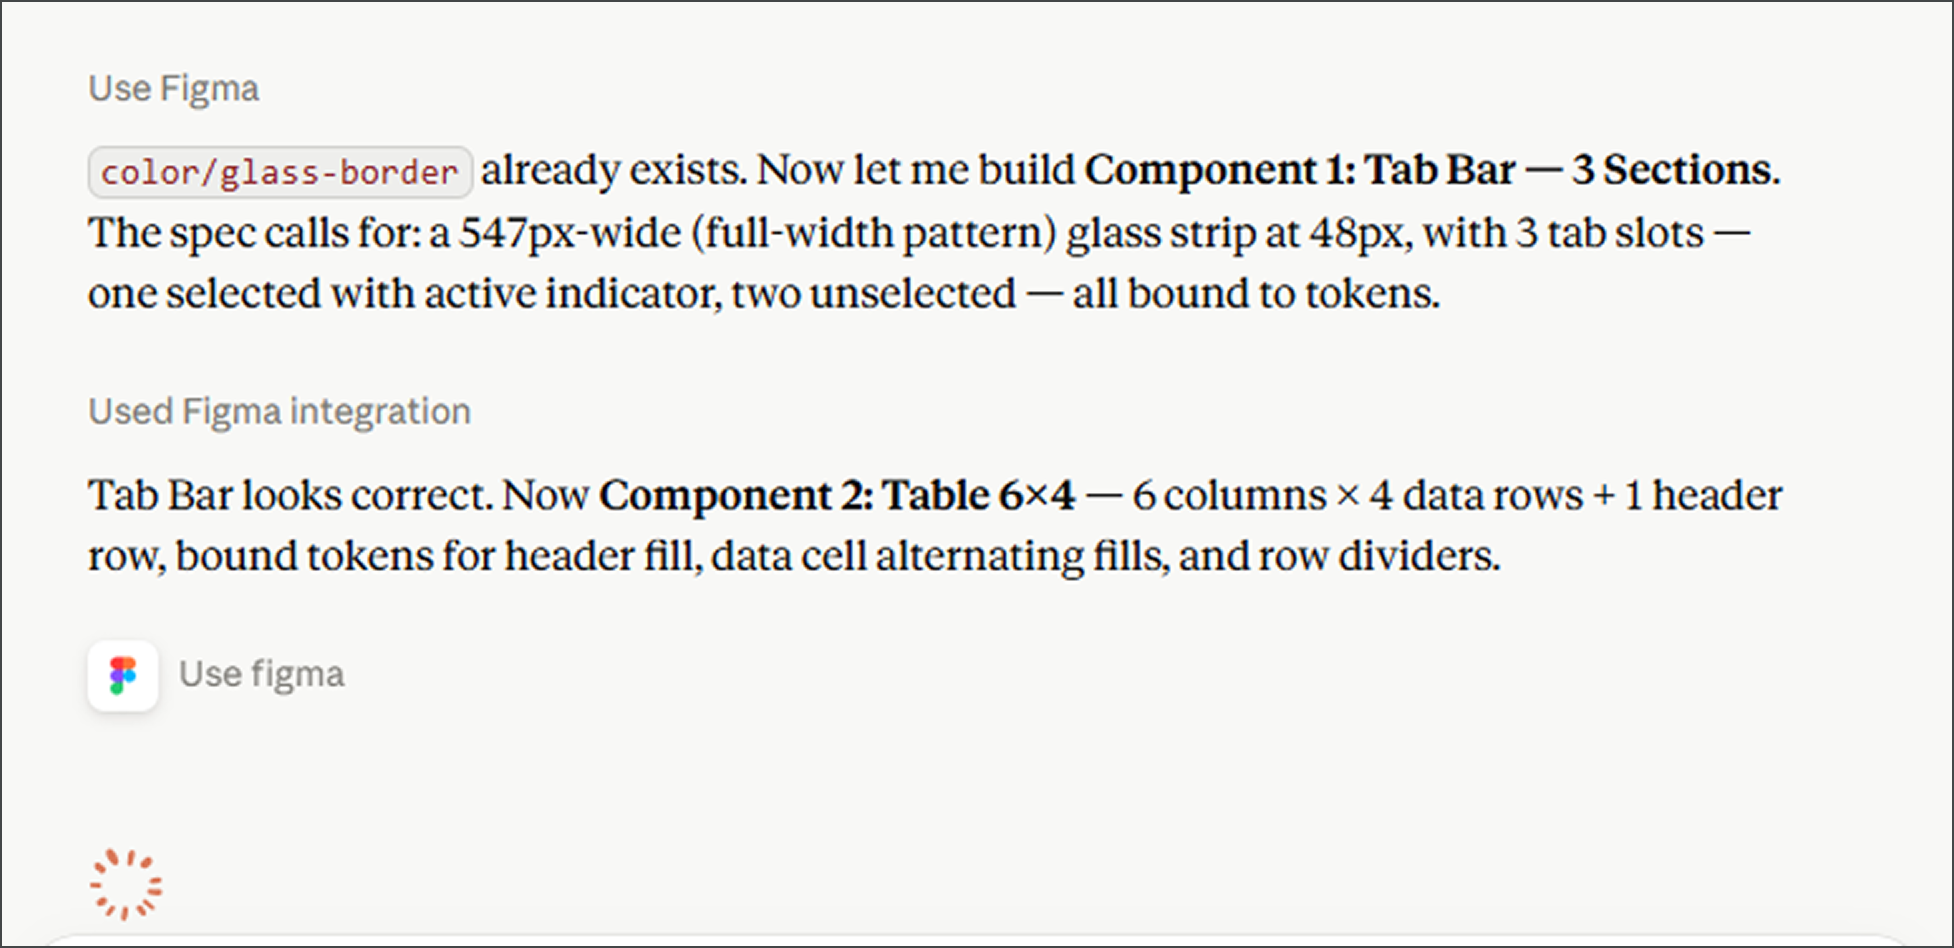
Once the process is complete, you can review the Figma file through the link Claude provides. As expected, the design system will not be perfect, and a few details will still need manual tweaking. In my demo, Claude produced most of the starting structure and saved several hours of manual setup, even though final review and refinement were still necessary
Design System
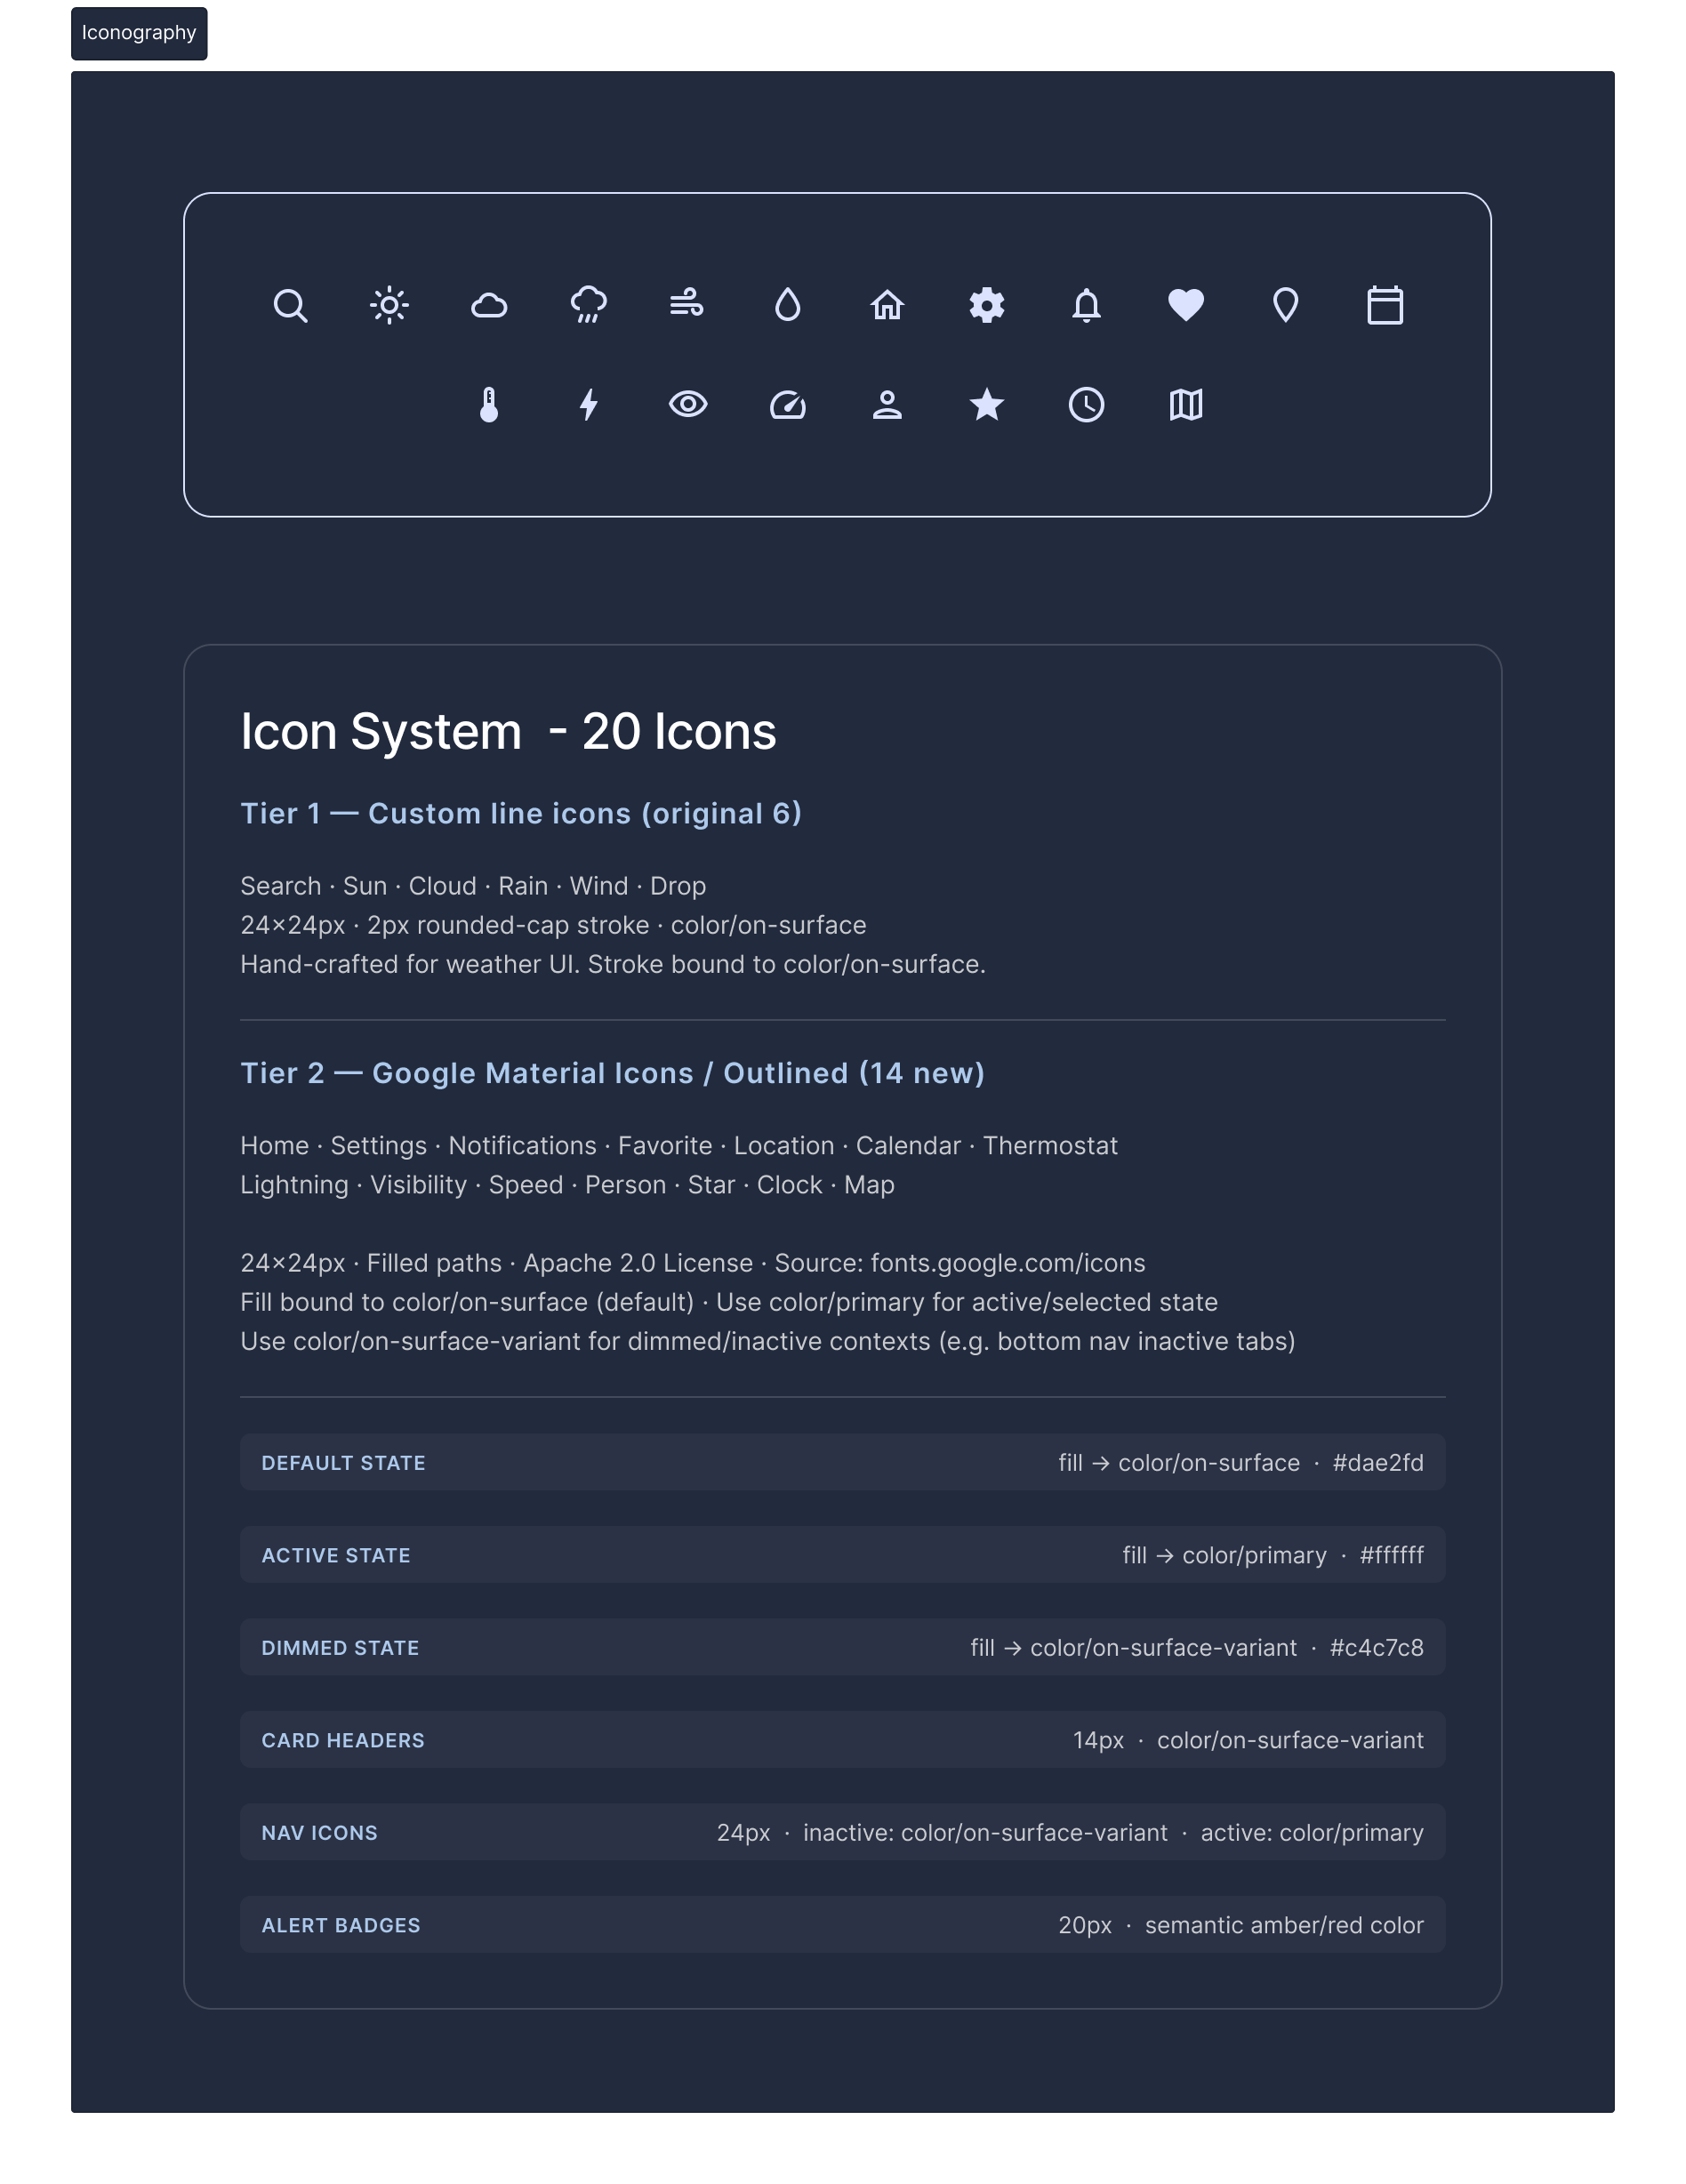
The default Atmospheric Glass DESIGN.md file has a few basic components such as buttons, cards, form input field and six icons. I added a few more components such as data table, tab bar and tab select from pre-existing Figma components. For a production ready design system even more components need to be added. I also added more icons to the default 6 weather related samples, using Google Material as the source of SVG icons.
Key Takeaways
- One of the biggest lessons is that that agentic design systems are not about replacing designers or design-system teams. They are about making design intent explicit enough for both humans and AI agents to act on.
- You don’t need to build an agentic design system manually from the ground up, leveraging an existing DESIGN.md file gives you a head start for a lightweight workflow.
- By connecting Claude to Figma using MCP connectors, skills and plugins, AI agents can perform complex tasks in the design environment.
- Claude can do most of the heavy lifting, however human tweaking, editing and validation is still required.
Documentation is the next major step, to make that makes the design system useful in an enterprise environment. It ensures that everyone understands:
- What each component is used for
- Example use cases
- Usage guidelines
- Accessibility considerations
- Variants and states
- When not to use a component

Leave a Reply